 Română

 Русский
 English
 Bahasa Indonesia
 Bahasa Malay
 ไทย
 Español
 Deutsch
 Български
 Français
 Tiếng Việt
 中文
 বাংলা
 हिन्दी
 Čeština
 Українська

FX.co ★ Actual patterns. Technical analysis and trading recommendations

Technical Analysis Patterns
There is nothing more precious to a trader than an ability to predict a further price movement. Technical analysis is a key to your successful transaction. At the same time, you can rely on common and recurring situations that arise in the same circumstances. Our Technical Analysis Patterns section features all trading recommendations based on the technical analysis patterns that help traders make projections and turn a profit.
Instrument:
1 selected
#Bitcoin
EURCHF
EURGBP
EURJPY
EURUSD
EURCAD
EURRUB
EURNZD
USDCAD
USDCHF
USDJPY
USDRUB
NZDCAD
NZDUSD
NZDCHF
NZDJPY
AUDCAD
AUDCHF
AUDJPY
AUDUSD
GBPUSD
GBPJPY
GBPAUD
GBPCHF
GOLD
SILVER
#AAPL
#AMZN
#EBAY
#FB
#GOOG
#MCD
#MA
#KO
#INTC
#MSFT
#NTDOY
#PEP
#TSLA
#TWTR
Figure:
All
Triangle
Rectangle
Pennant
Flag
Head and Shoulders
Double Top
Triple Top
Timeframe:
All
M5
M15
M30
H1
D1
Signal strength:
All
High
Medium
Low
Signal direction:
All
Buy
Sell
AUDUSD
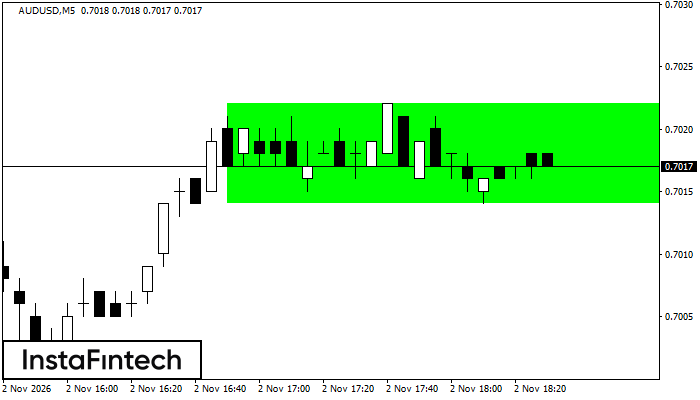
AUDUSD M5
Bullish Rectangle
The Bullish Rectangle has formed on the AUDUSD M5 chart. This is a trend continuation pattern bounded by the lower boundary at 0.7014–0.7014 and the upper boundary at 0.7022–0.7022. A breakout above the upper boundary is likely to signal a continuation of the uptrend.
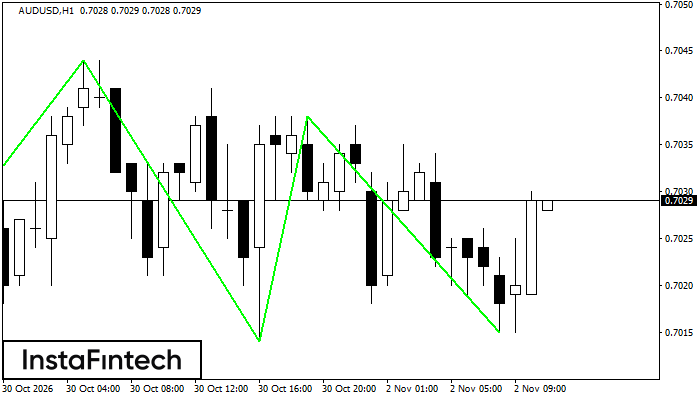
AUDUSD H1
Triple Bottom
The Triple Bottom pattern has formed on the AUDUSD H1 chart. A break above the confirmation resistance at 0.7044 may signal a reversal from a downtrend to an uptrend.
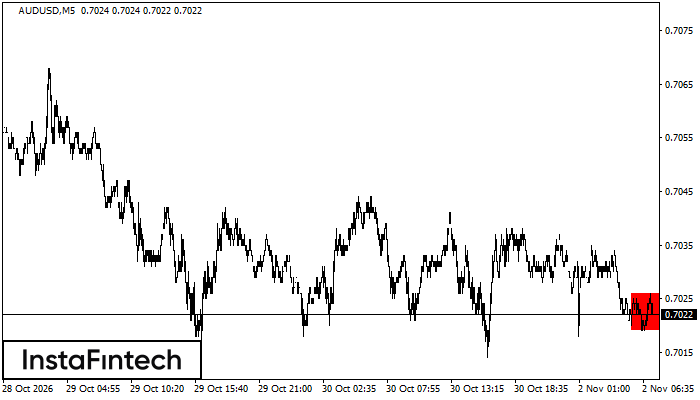
AUDUSD M5
Bearish Rectangle
The Bearish Rectangle has formed on the AUDUSD M5 chart and indicates a likely continuation of the trend. Its resistance zone is at 0.7026–0.7026 and its support zone is at 0.7019–0.7019. A break below support at 0.7019 is likely to signal a continuation of the bearish trend.
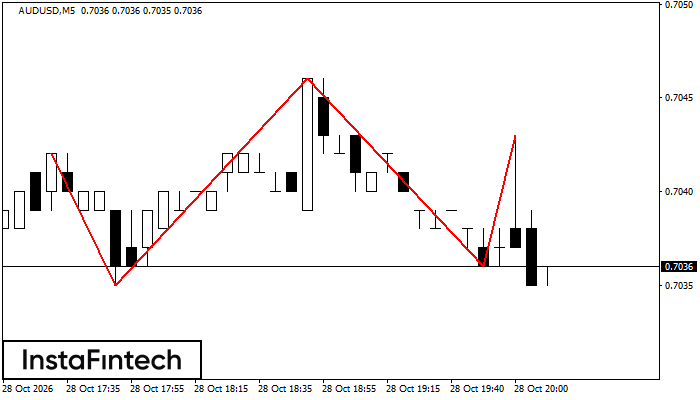
AUDUSD M5
Head and Shoulders
The Head and Shoulders pattern has formed on the AUDUSD M5 chart. After the right shoulder forms, a break below the lower of the neckline anchors at 0.7035/0.7036 may confirm the bearish reversal.
AUDUSD M5
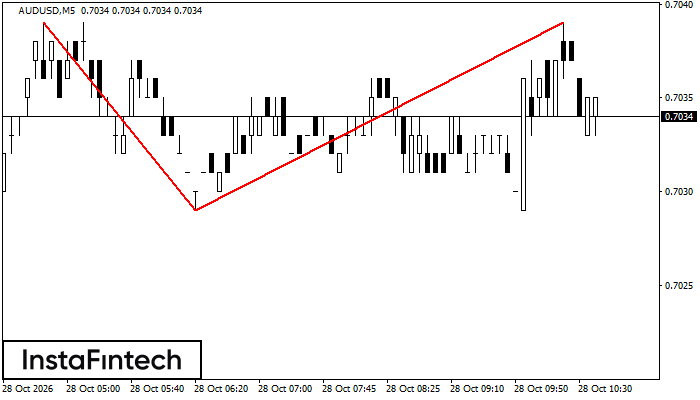
Double Top
The Double Top reversal pattern has formed on the AUDUSD M5 chart. Its upper boundary is at 0.7039, its lower boundary is at 0.7029, and its width is 10 points. A break below the lower boundary is likely to confirm further downward movement toward 0.7014.
AUDUSD M5
Bullish Symmetrical Triangle
The Bullish Symmetrical Triangle pattern has formed on the AUDUSD M5 chart, signaling a likely continuation of the trend. Its upper boundary passes through 0.7028/0.7025, while its lower boundary passes through 0.7022/0.7025. The pattern width is 6 points. When the Bullish Symmetrical Triangle forms during an uptrend, it indicates that the prevailing trend may continue. A breakout above 0.7025 could send the price toward 0.7040.
AUDUSD M15
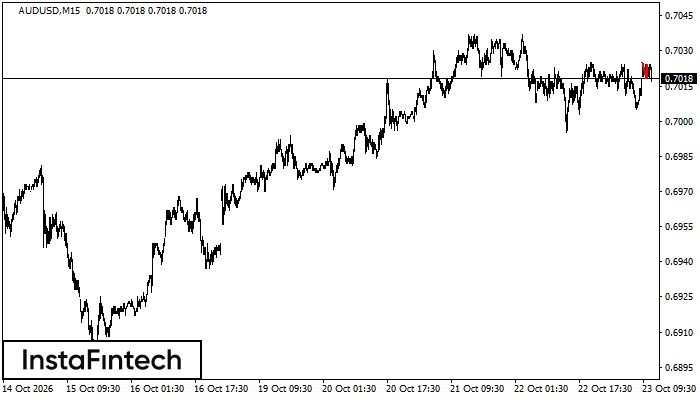
Double Top
The Double Top reversal pattern has formed on the AUDUSD M15 chart. Its upper boundary is at 0.7024, its lower boundary is at 0.7018, and its width is 6 points. A break below the lower boundary is likely to confirm further downward movement toward 0.6995.
AUDUSD M15
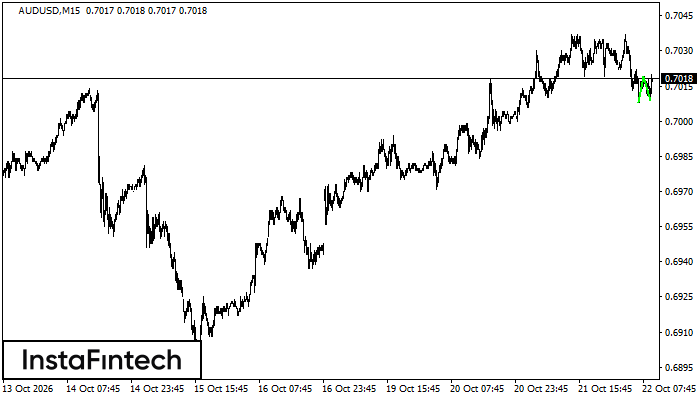
Double Bottom
The Double Bottom pattern has formed on the AUDUSD M15 chart and signals a potential reversal from a downtrend to an uptrend. A long position may be considered after the price breaks above the upper boundary at 0.7019. The projected move is based on the pattern width of 11 points.
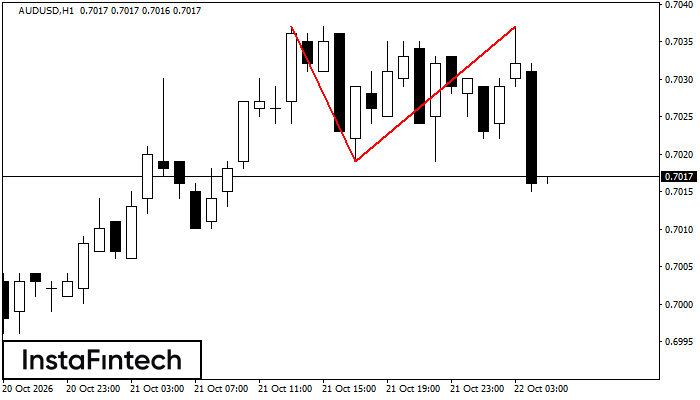
AUDUSD H1
Double Top
The Double Top pattern has formed on the AUDUSD H1 chart and signals a potential reversal from an uptrend to a downtrend. A break below the pattern base at 0.7019 is likely to confirm further downward movement.
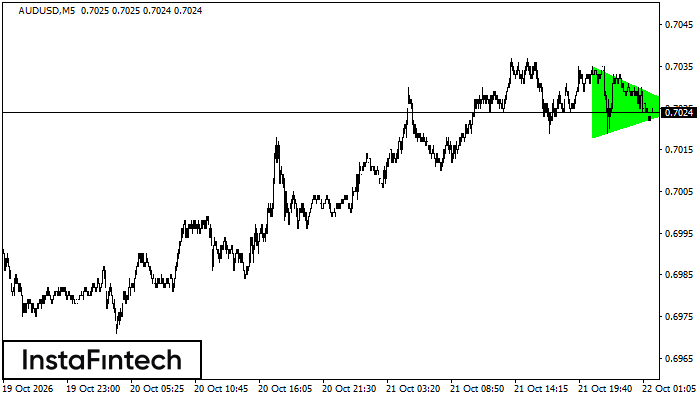
AUDUSD M5
Bullish Symmetrical Triangle
The Bullish Symmetrical Triangle pattern has formed on the AUDUSD M5 chart, signaling a likely continuation of the trend. Its upper boundary passes through 0.7035/0.7025, while its lower boundary passes through 0.7018/0.7025. The pattern width is 17 points. When the Bullish Symmetrical Triangle forms during an uptrend, it indicates that the prevailing trend may continue. A breakout above 0.7025 could send the price toward 0.7040.